


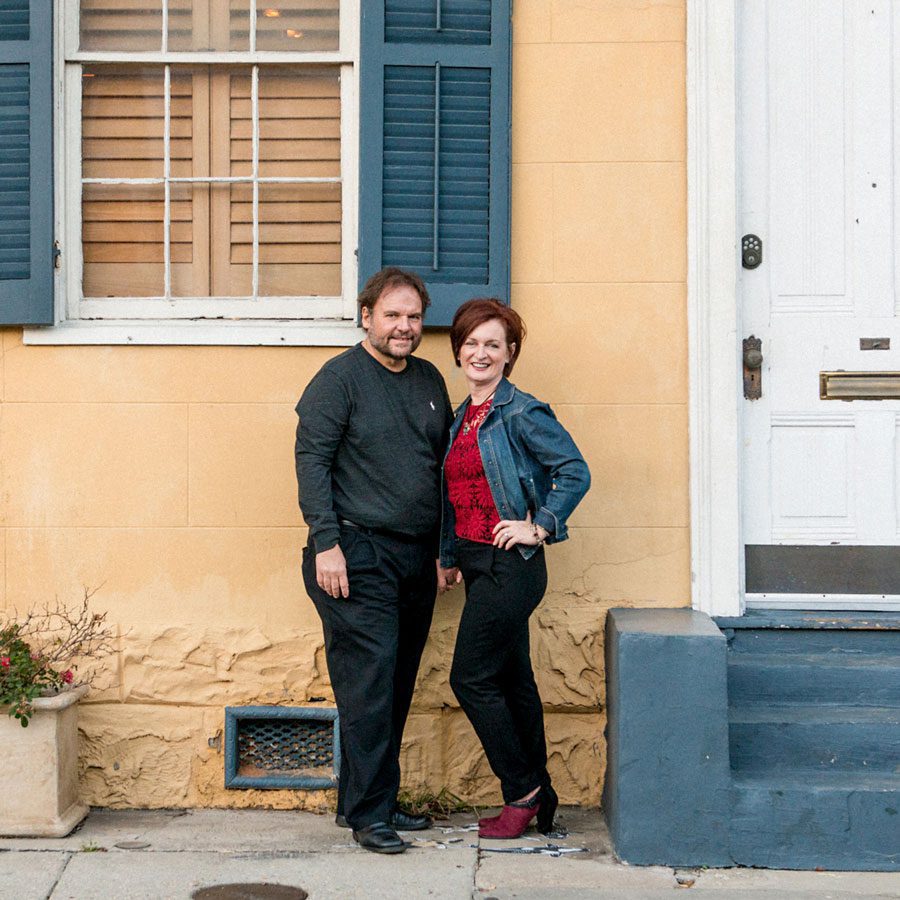
When I married Steve, I moved into the house that he had owned for the last 30+ years. By all accounts, it is a lovely house, and with a few feminine touches, it has become a quite comfortable home for us. The only thing that makes me a little crazy is that it has no yard space and I love to be outside. After three years of exploring every possible nook and cranny of the property and wracking my brain for areas where I might create a garden/patio oasis (yes, I even considered the roof), the only outside area I could find to build a little garden/patio oasis was to take over half of the driveway. That’s not a huge problem, since we have plenty enough parking space … but we do live on a very busy street. No problemo! I’ll just go to Pinterest and find one of those simple DIY Projects that are all over the place and find a creative way to build a privacy wall. Why Pinterest? Because everything on there looks so beautiful, and can be done in, what, like 3 Easy Steps! Well, that was just before Christmas last year, and the conversation went something like this, “Hey honey …. don’t stress about my Christmas gift! I just want you to help me build this simple little privacy planter that I found on Pinterest.” And so this project began. I honestly should have known better, since as a photographer, I’m constantly met with clients’ unreal expectations for images that they find on Pinterest, to which I explain that I will use their Pinterest suggestions as inspiration, but I cannot replicate those images exactly. I should have listened to my own advice.
So the Pinterest search led me to a moveable living privacy wall made of horse troughs! Wow! I had thought of the idea of planters but all of the larger ones I had found were rather pricey. I thought the horse troughs would be much cheaper and, to boot, I could make them moveable, which was a plus since I had already bargained for half of our driveway and Steve still wanted access to one of our garages that I would be blocking off. But here’s the catch … I didn’t have a clue where to get a horse trough. I live in the suburbs of New Orleans, and they don’t sell these things at our local feed store. Our local feed store doesn’t actually feed anything much larger than a Great Dane where I live. So I hopped on the Internet and found the troughs I wanted. They were made by Behlen Country, and they could be delivered to our house for a fee equal to the cost of the troughs themselves. Hmmmm … this was starting to get quite pricey, so I had to start thinking. As I often do, I went directly to the website for the manufacturer to see where they distribute in Louisiana and found out that there is a store in Lockport, Louisiana that is a distributor for Behlen Country horse troughs! Yeah, that’s a 90 mile round trip from New Orleans, and given that we do not own a pickup truck, it was U-Haul for the day. And there we were, exploring the sugar cane fields of Louisiana on a crisp, spring afternoon, pulling our horse troughs behind our Mustang, somewhat resembling the Beverly Hillbillies.
 I was so excited to finally have my troughs in my possession, and couldn’t wait to begin filling them with plants! But first, Steve wanted to put them on wheels, since we were making a moveable living privacy wall. He calculated that one these horse troughs, which were 2 X 2 X 5 ft, would weigh approximately 2,500 lbs. when filled with dirt and plants. He was very concerned that any wheels we attached would have to be large enough to evenly distribute that much weight without having the bottom sag. Further, he became concerned that if we bolted the wheels directly to the bottom of the planters, that the wheels could rust and the planter would no longer be movable. So we started looking for welding fabricators to design a frame in which to hold the troughs. You know, finding someone who wants to deal with a small job such as this and deal with an impatient woman who is getting desperate for outdoor time, can be quite the challenge. An Internet search and Facebook plea sent us on a lot of leads that just came up kind of empty. So we put our heads together and came up with an option that we knew we could fabricate ourselves (or with the help of someone we knew could do it … thanks to our favorite trim carpenter Jared Marcell) and designed a pallet-type stand that we could place the trough on top of. When and if the planters need to be moved, we could accomplish that with a pallet jack. Yes, I now own a pallet jack … doesn’t every girl have her own pallet jack? Try not to be jealous girls … that man of mine buys me the best gifts! 😉
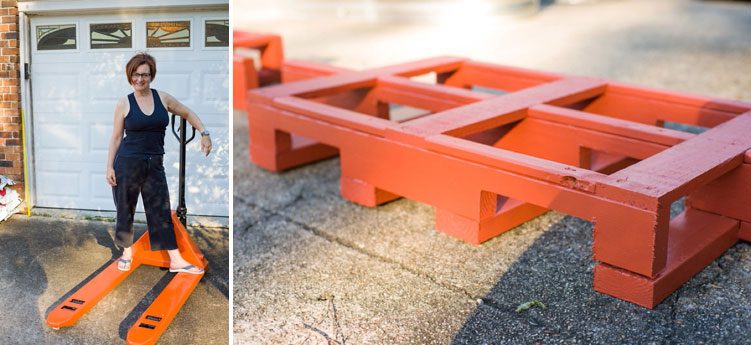 With my troughs in hand and a plan to make them mobile firmly in place, I was ready to start assembling! We decided we could lighten the whole trough just a bit and help with drainage by packing the bottom with soda cans. We had been saving cans for a while, and Steve’s sister gave us her supply, as well. We started by packing in the cans as tightly as we could, and then covering them with a layer of weed cloth. We decided not to punch holes in the bottom of the trough, as that would disturb the galvanized coating that keeps them from rusting. The soda cans allow the water to drain off, and there is a drainage plug that we have left open for excess drainage to run out of.
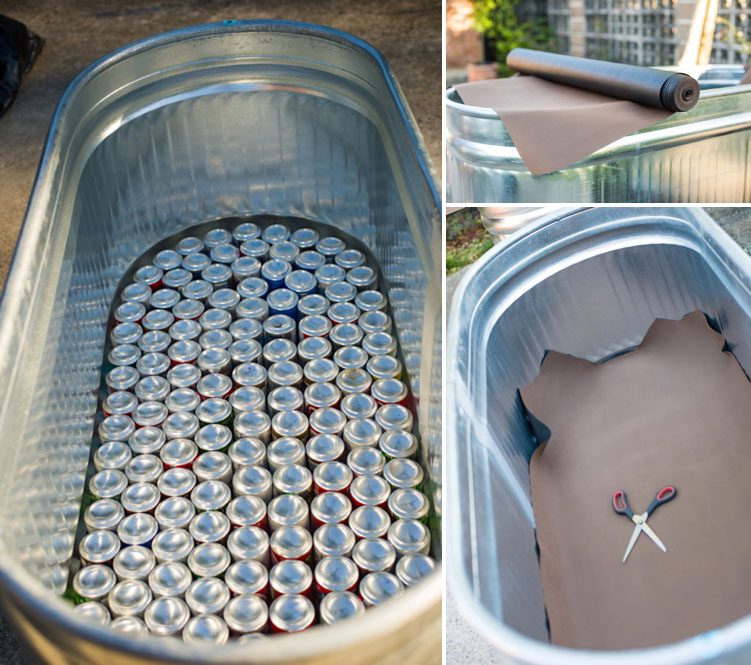 After the weed cloth, we added a layer of peat moss, about 3 or so inches thick. We then started filling the troughs with a mixture of top soil, compost/manure and potting soil.
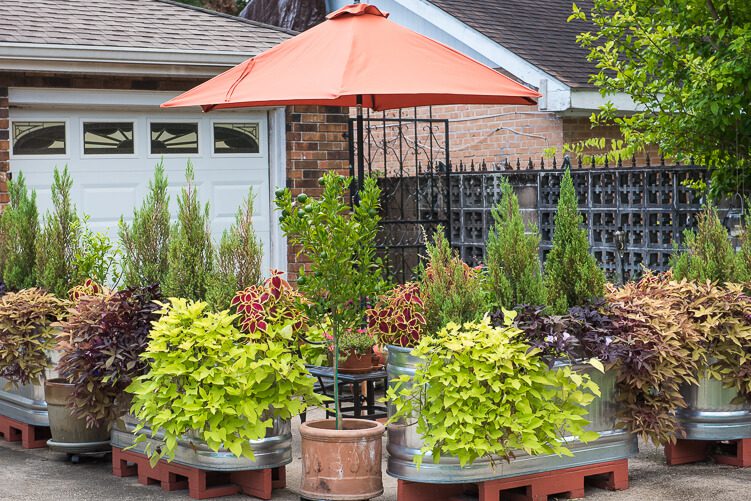
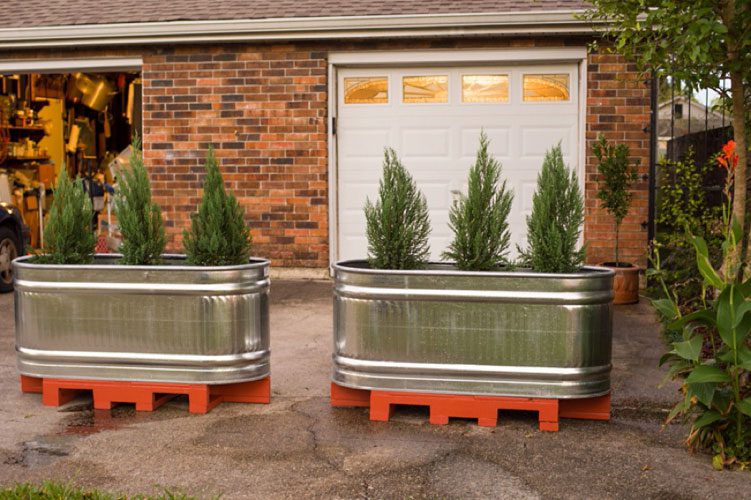
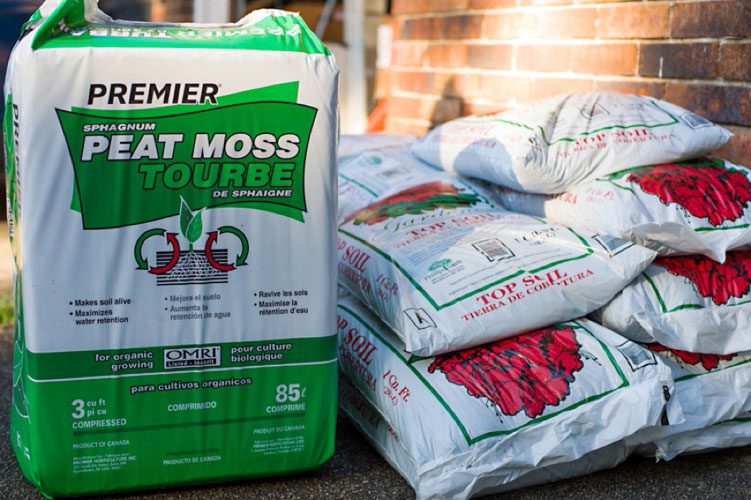 And finally, we added in some blue spruce juniper. We found these at Lowe’s for under $15.00 per plant, and given that we needed 12 for the whole project we were looking for something nice that didn’t bust the bank. Steve and I went on a crazed scavenger hunt to every Lowe’s in the New Orleans Metro area, buying out their inventory of blue spruce juniper until we had finally found enough. (I even withheld the name of these plants from my bestie and told her she couldn’t go buy one until I had secured enough. It’s OK now Rachel … they are blue spruce juniper.) My plan is to let them take for now, and then in the spring, I will add other cascading plants into the plant beds to make them fuller. We were able to complete two of the planters, and are looking for either more soda cans so we can complete the other two, or an alternate method of adding lightness and drainage. We’re still thinking on that one. But … I am loving my outdoor space, which my kids have now dubbed my “secret garden”. Yes, I am sitting outside writing this, underneath the stars and sipping on a glass of wine and I’m pretty happy with the way this project turned out. I lost track of how much it cost a long time ago … I’m sure I could figure it out, but why torture myself at this point. Sales on patio furniture have come and gone since this “easy” DIY began nearly a year ago, but my plastic adirondacks are standing in quite nicely for the time being! I plan on staying off of Pinterest for a while and the next time I see some easy DIY project, like cool Halloween cupcakes or something, I might just check out Sam’s first!”
Updated to show progress:
And check out updates at the Secret Garden’s Facebook page HERE
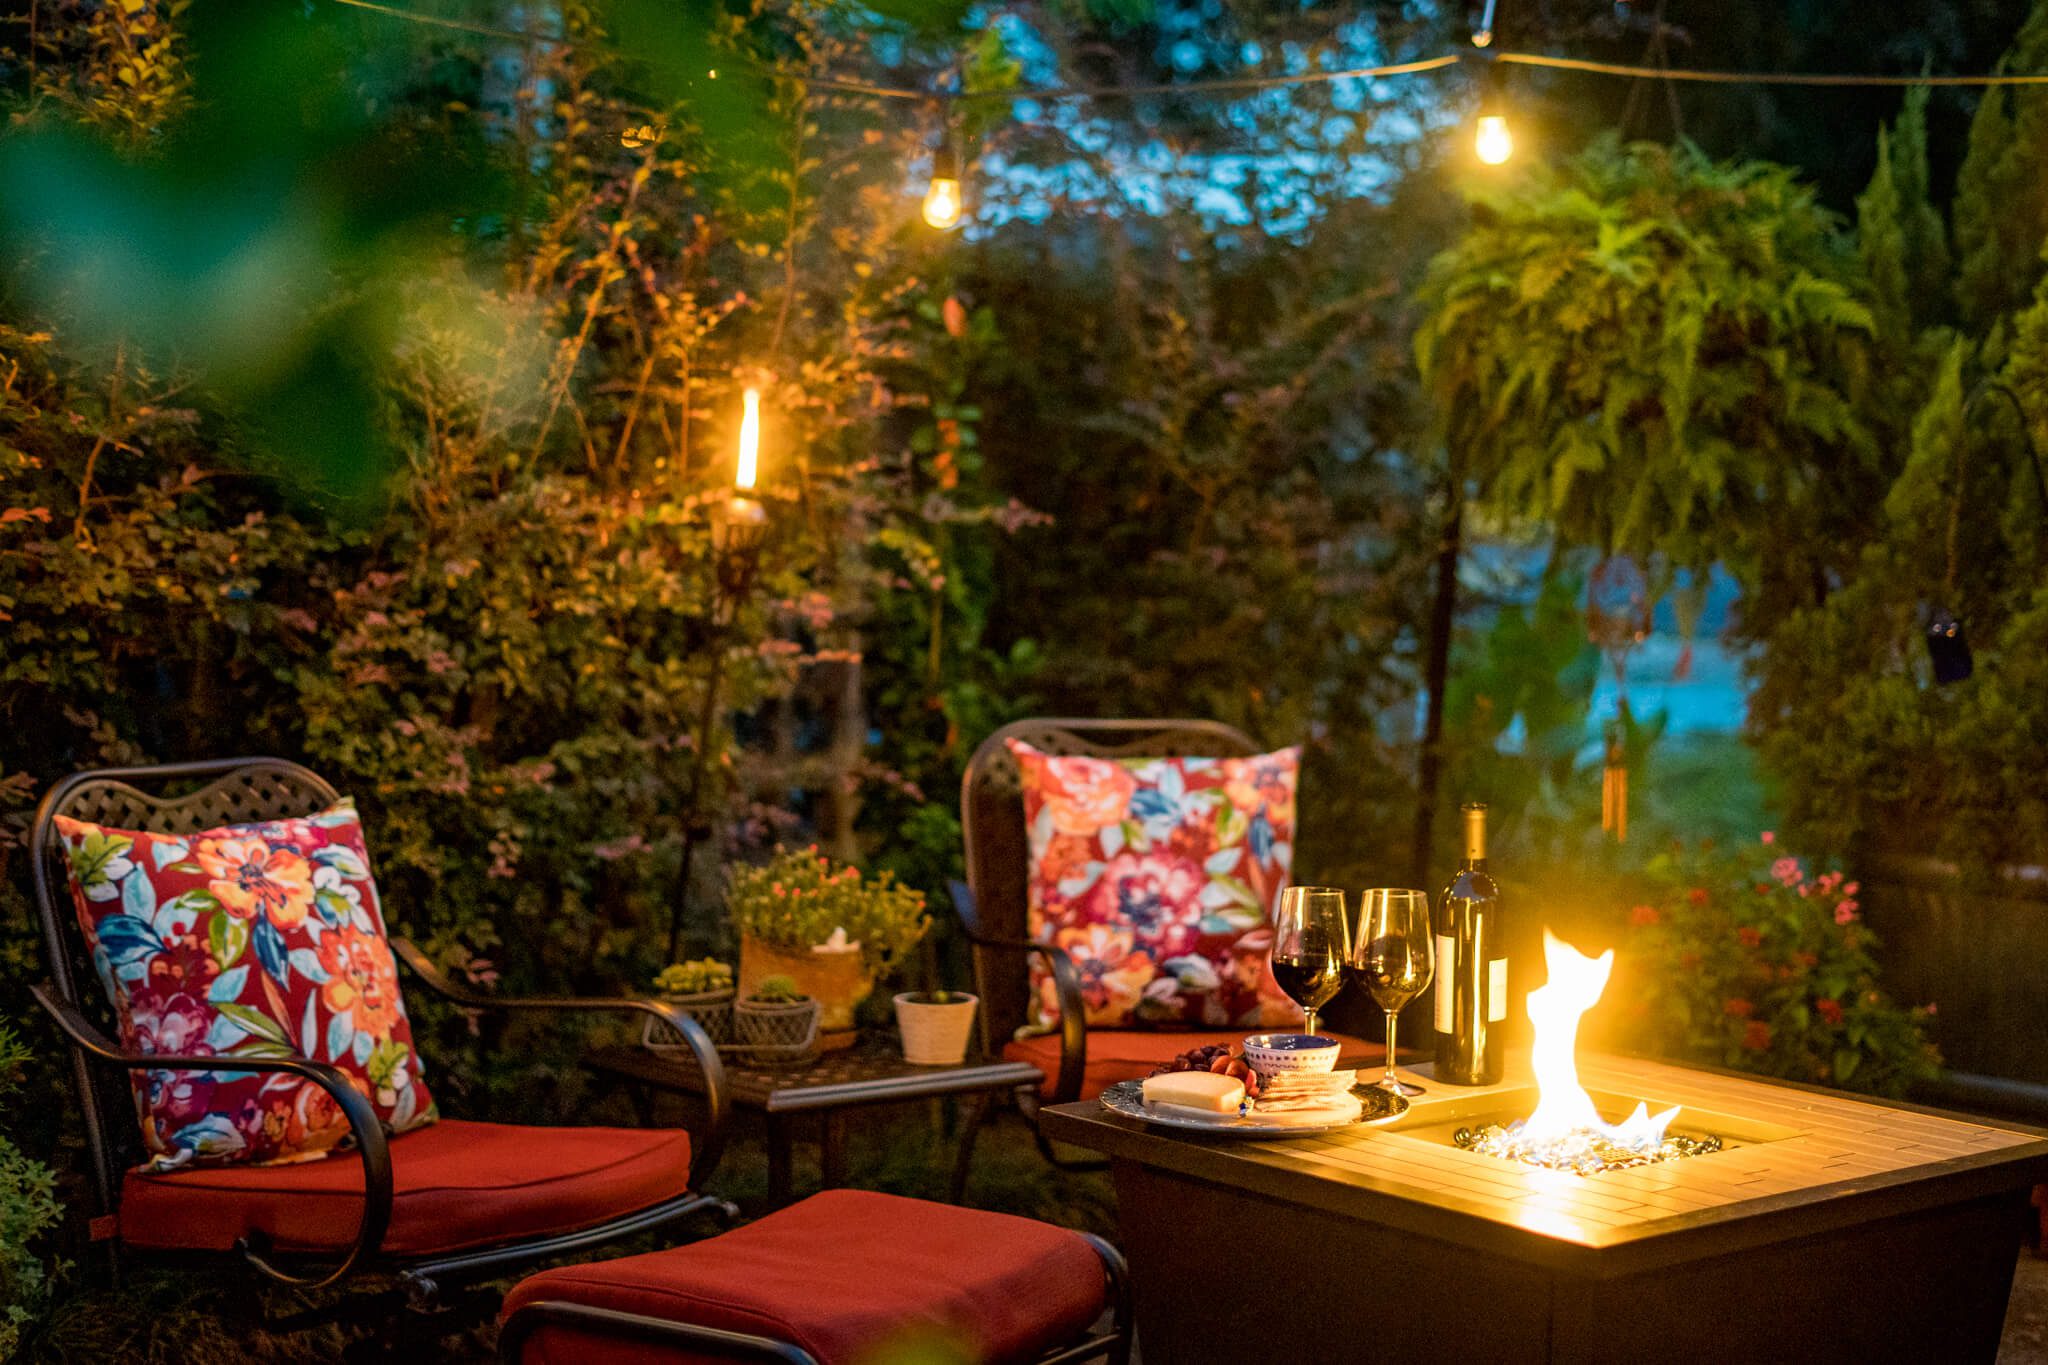
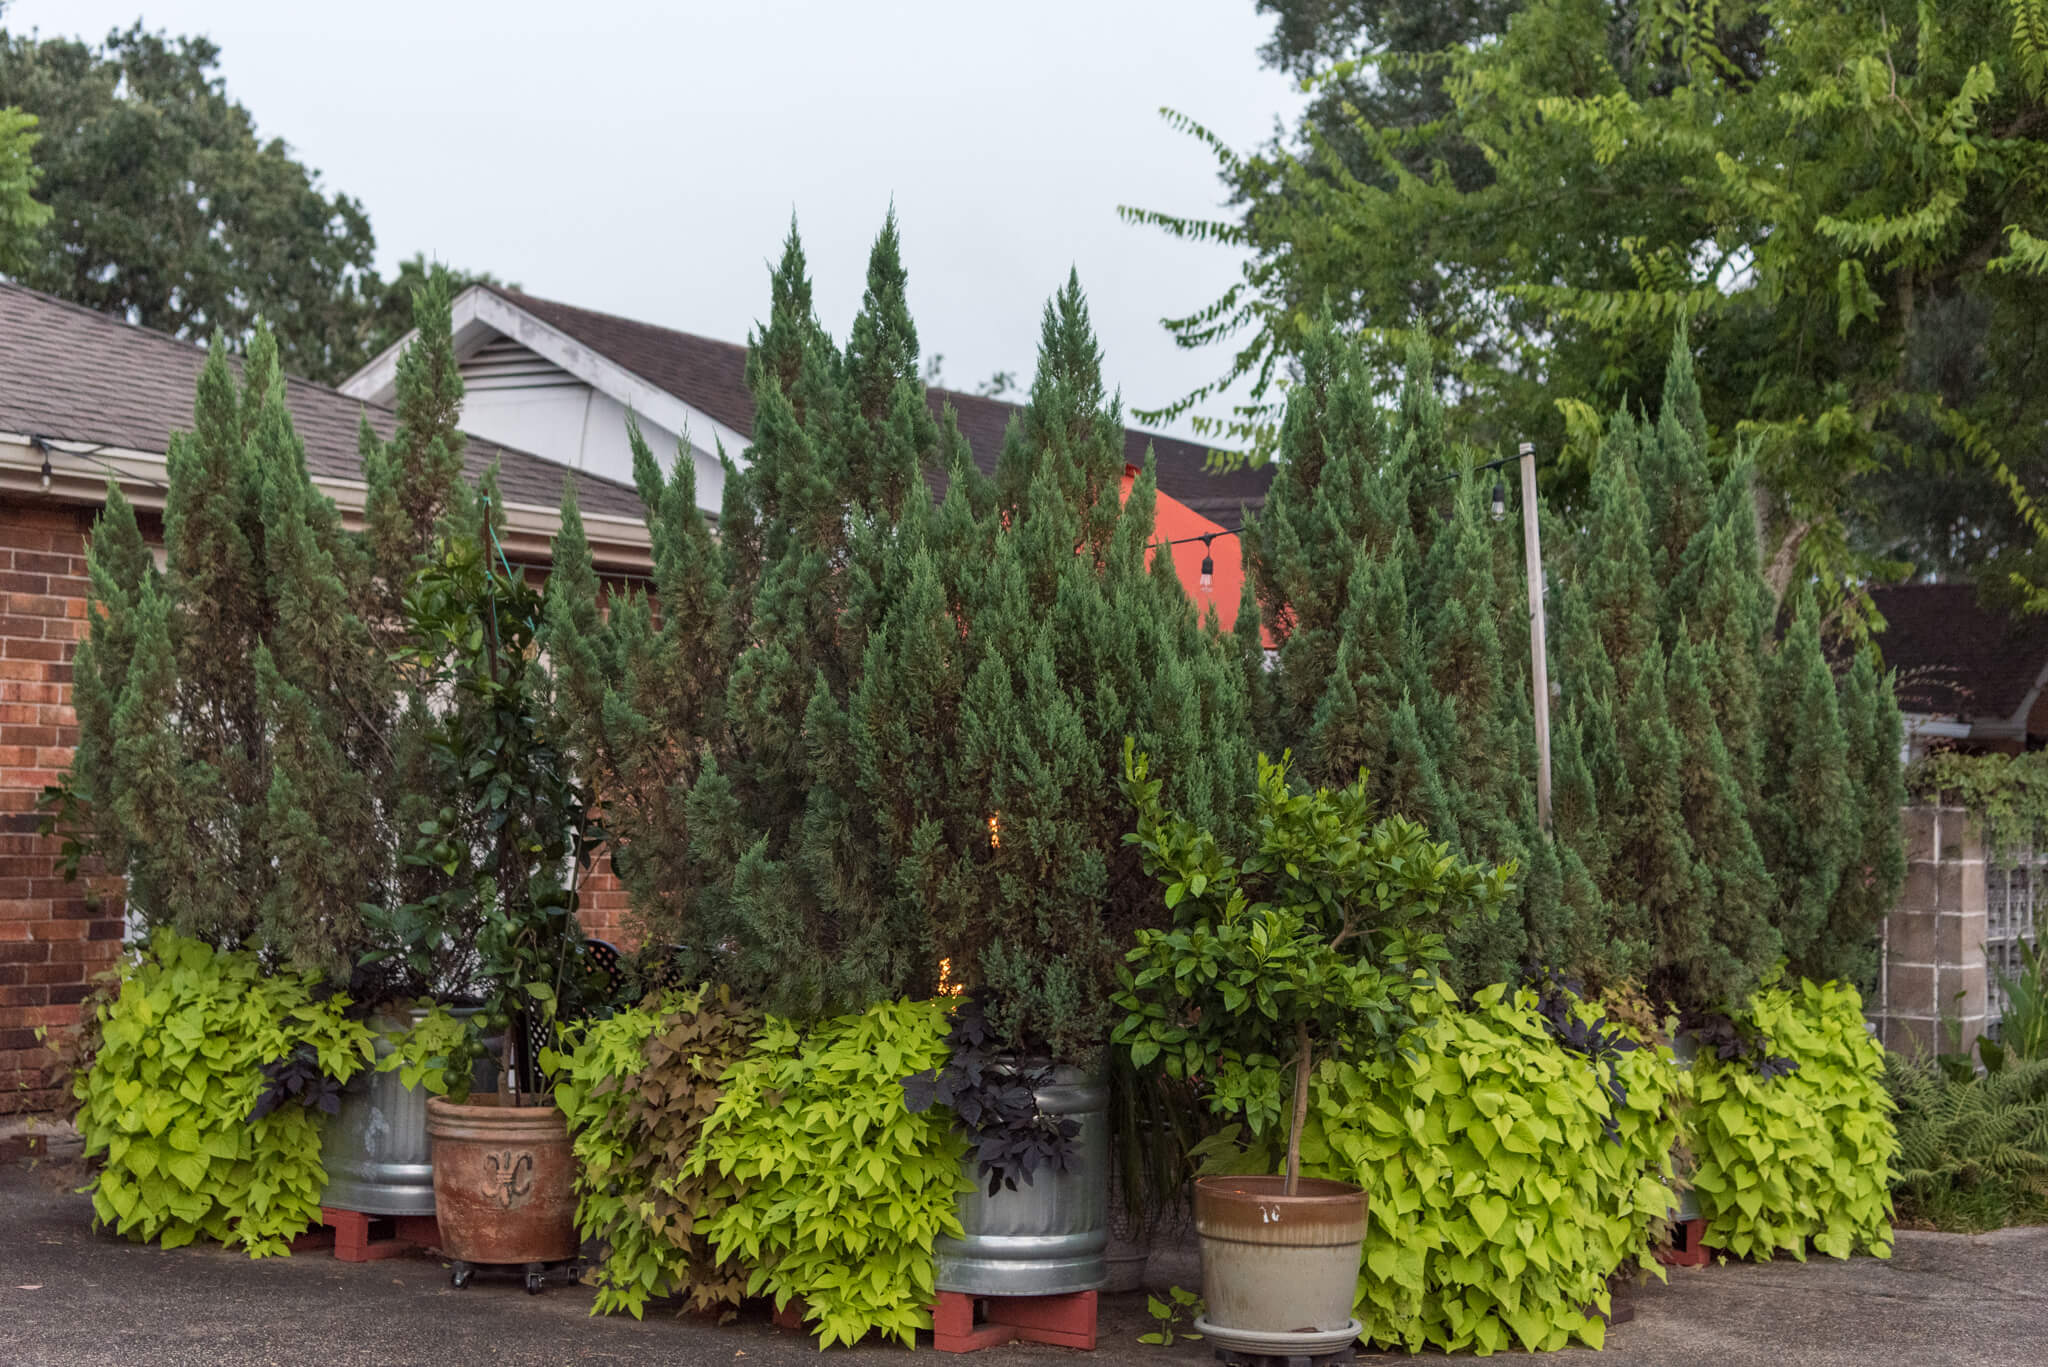 My how my babies have grown! It’s been seven years and the garden truly is now a “Secret” Garden. The junipers have grown so tall I can literally sit in the garden and have privacy from any passers by. I add in fresh soil and plant new sweet potato vines every summer, which gives the planters a lush, full look. The vines stay full and grow actively until about mid-October.
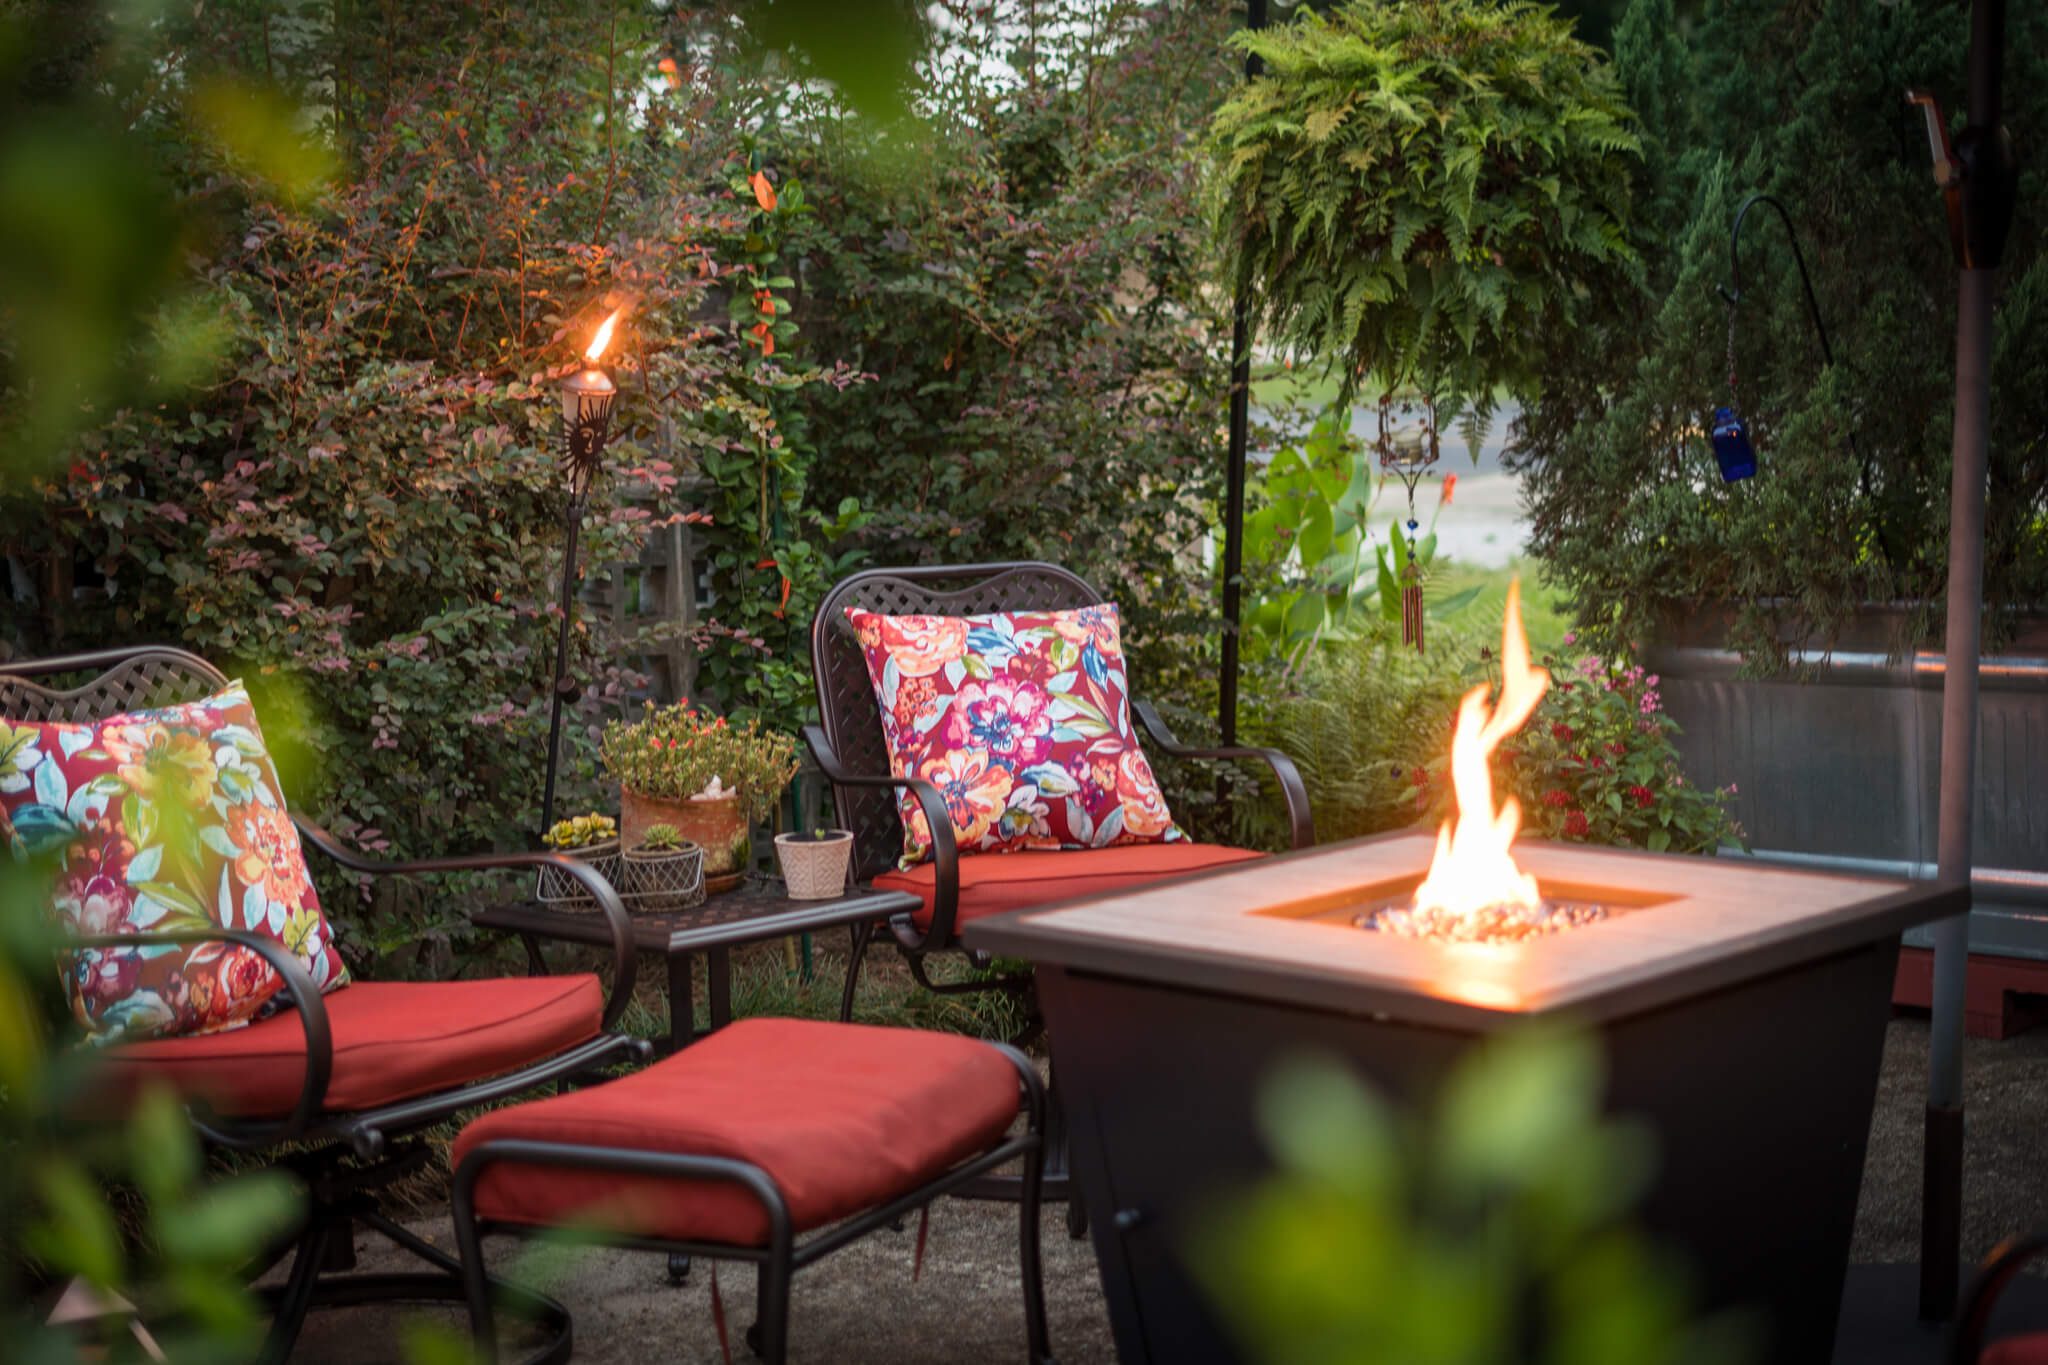
We’ve gone through several different fire pits, from metal to pottery wood burning pits, and none seem to hold up to the weather. We finally installed this gas burning one last fall that we found at Sam’s Club. Although not as warm on cold nights as the wood burning pits, the gas pit is easier to light and upkeep. If we want to sit out for a quick glass of wine, we can just fire it up for 30 minutes without having to commit to a whole evening of tending to burning logs.
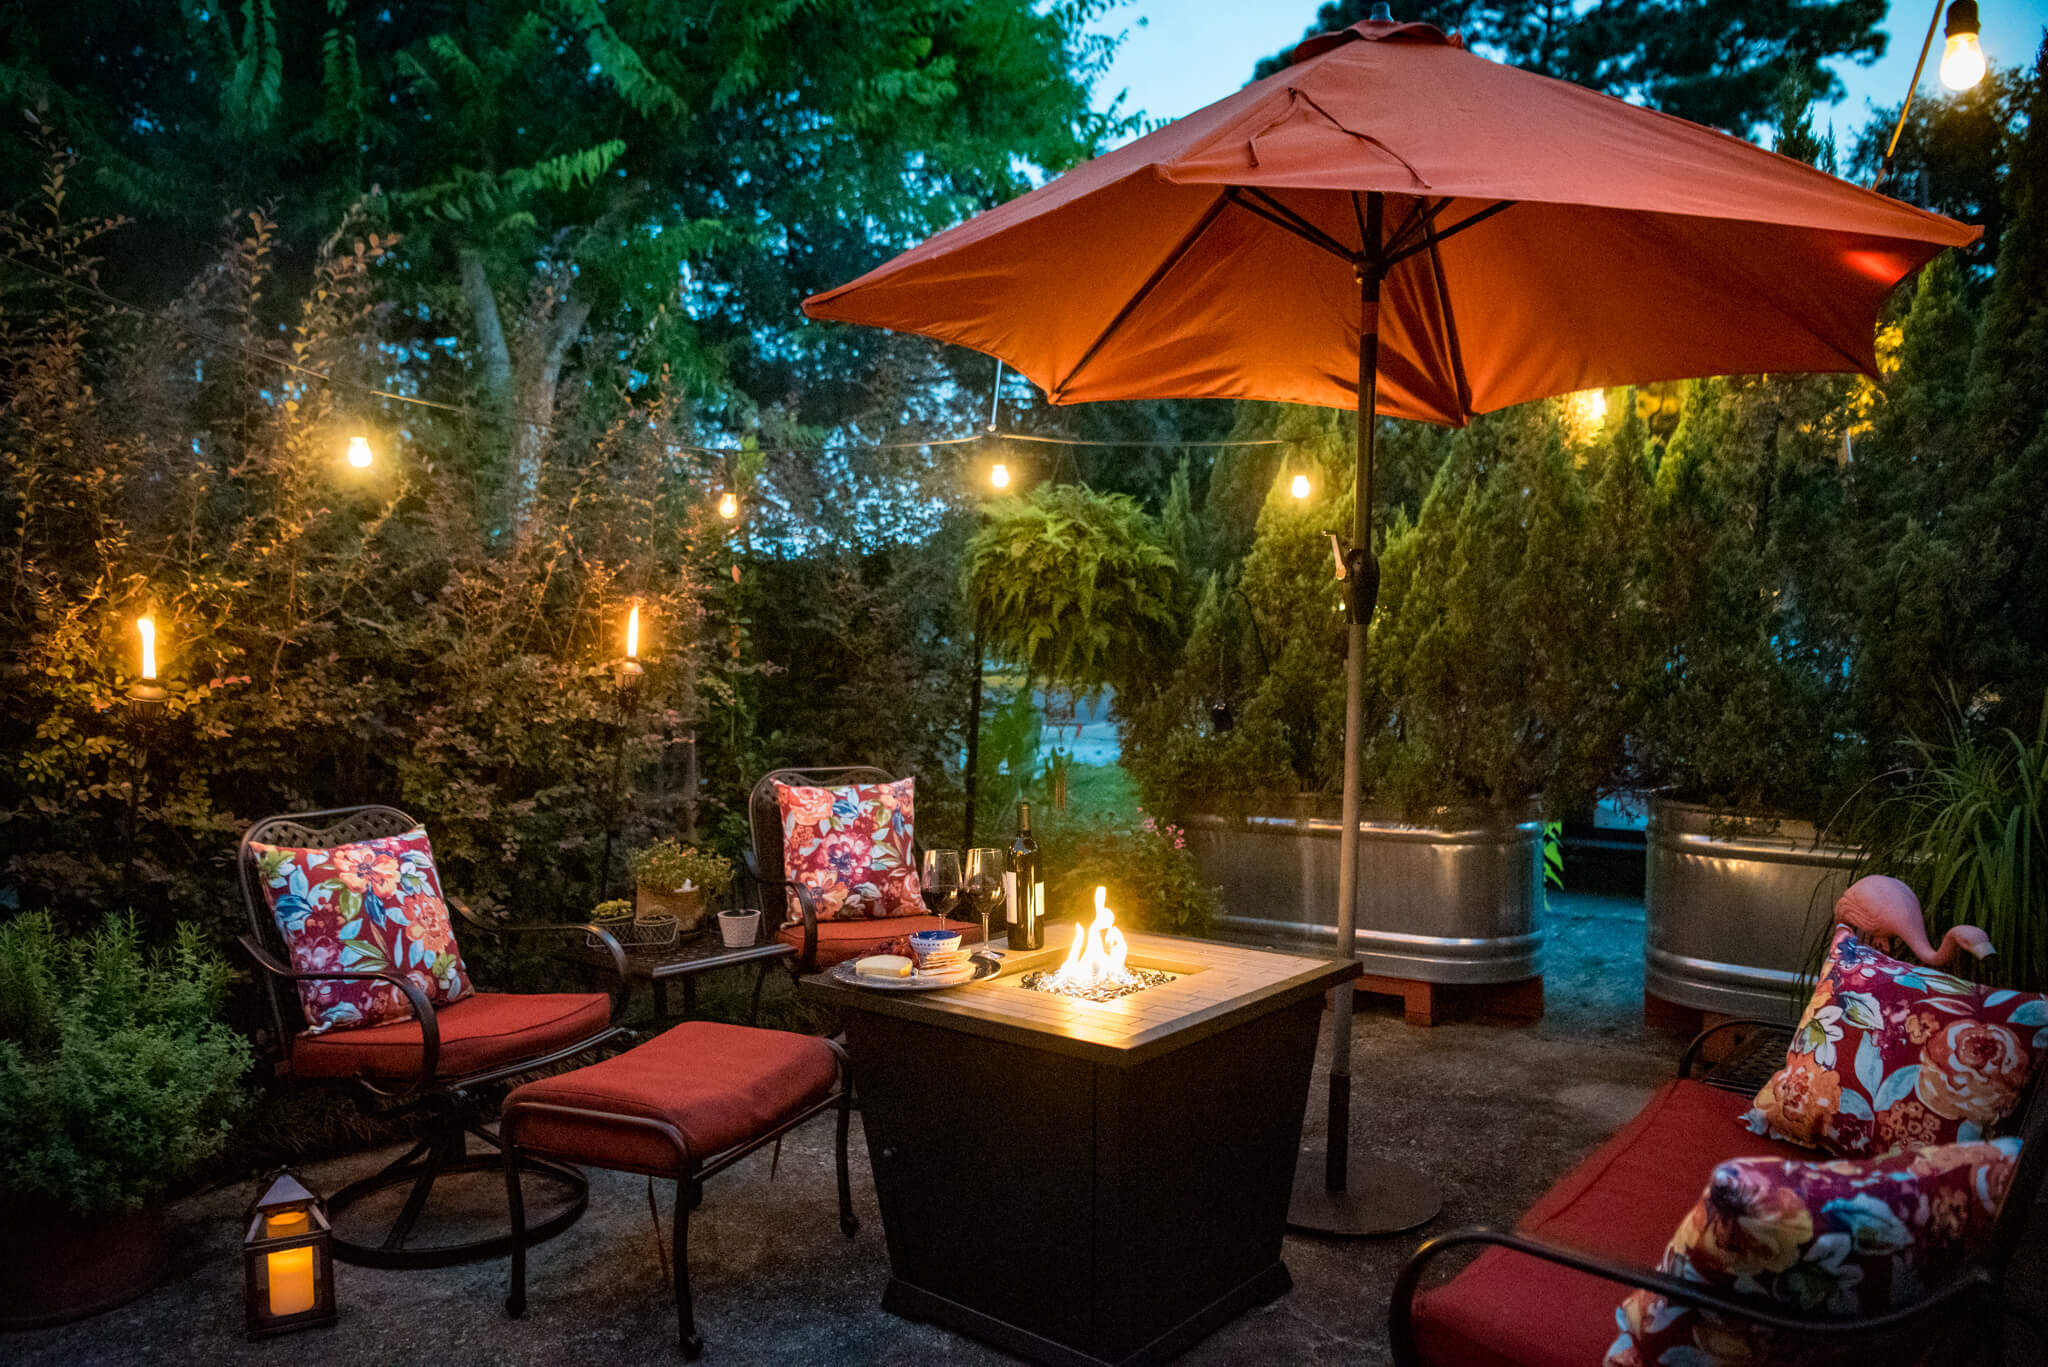 After seven years of wear and tear, the furniture had to undergo a facelift this summer. My son, Jared, did an amazing job treating the furniture for rust, and then repainting it using cleaner, primer and finishing paint from Rust-Oleum. I was totally amazed that instead of replacing the bottom seat cushions, which I was finding to be quite pricey, I found Rust-Oleum fabric paint. I decided to give it a try and for under $25.00 I was able to double coat the seat cushions and totally bring them back to life! The fabric is still soft and comfortable to sit on, and the paint does not rub off on our clothes. I added a fresh pop of color by throwing in fresh throw pillows that we purchased from At Home.


KarenGet plastic drainage pipe (like for end of a gutter downspout) for bottom of planters. Then add tree trimmings, brush, dried grass clippings, even half rotted logs to take up space before filling rest up with soil. You only need 10-12 inches of soil on top to grow things and over time the brush will break down. Each year add a few inches of compost. I love my stock tanks but painted them with outdoor latex paint instead of letting them weather. Ads some color to the yard. Mine are not moving anywhere though!
MichelleDid you put holes in the bottom of your trough?
MarianneNo, we did not put holes in the trough because making holes would break the galvanized coating and make the troughs susceptible to rust. We filled the troughs half-way with soda cans to allow for drainage of the plants. The troughs have a drainage plug that allows for overflow when it rains or when you are watering.
CharlieThey turned out Beautiful.
MarianneThank you! It makes a comfortable addition to our outdoor living space for sure!
KarenI drilled the bottom of mine. We emptied and moved them after 10 years and were amazed to see no deterioration at the holes.
MarianneWow! That’s awesome. We really thought that breaking the galvanized seal would introduce rust. So good to know yours didn’t rust and I’m sure that others will be happy to know!
DawnI used all my soup, tomato sauce, etc cans that I was putting in the recycle bin instead. Thank you for the great idea.!!
KathyWe put empty water and soda bottles in the bottom of big containers. Put the lids on tight so they don’t fill with soil and water. I have had a fountain/ water garden in a stock tank for 14 years. It still looks new inside and out.
MarianneI love to hear all the different ways people have gone about this! Thanks for sharing your info.