
“Whah whah whah whah whah” … remember how the teacher on Charlie Brown sounded?? I sometimes fear that my clients will hear me that way.
I’ve come to realize photographers use all kind of lingo that we just take for granted that everyone understands. We quickly throw around terms to describe file size, aspect ratio and the like, and I’ve been at it so long now, it’s hard to step back and remember when or where I learned all that. I have to remind myself that not everyone knows exactly what we mean! I try my best to start every viewing and ordering appointment with a little “info sesh.” This is where I explain that the images that we show are proofs with basic retouching, meaning that they are white balanced, light balanced, and possibly cropped and straightened. But that is it. Only after an image is selected for purchase do I go in and do the final retouching.
Clients have a basic understanding of what a retouched image is. Some liken it to applying “filters” that are found on Instagram, as I have been asked before what filters I use. And much like a filter, there is something called a “preset”, that can be applied to all images at once in a “batch edit” to create a particular aesthetic.
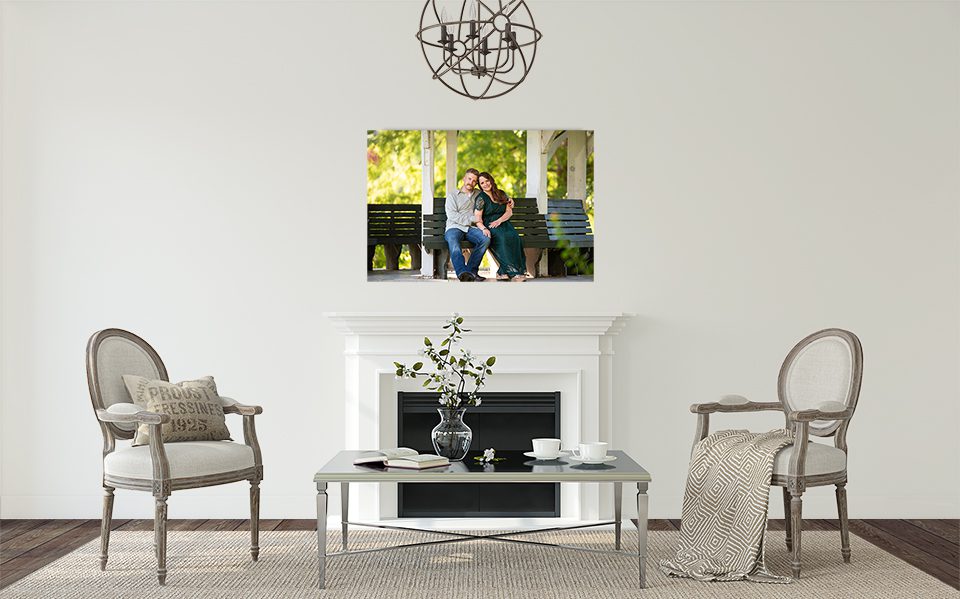
From Camera to Wall Art – Our Typical Workflow
A typical workflow is to shoot a session, then bring the images onto the computer for culling and editing. The best images are then chosen, and then that set of images is white balanced, light balanced and straightened. Our own special “preset” is then applied, which is kind of like the secret sauce that gives our images our signature look. We could stop there, and a lot of photographers do. The images at this point do look great and they are proof ready. What happens next is what elevates our images to the next level and gets them ready to be printed and displayed, the final retouch, which is done by hand. Some of these edits may look small, but once the image is blown up for hanging, the small touches really make the difference and add polish to the final product.
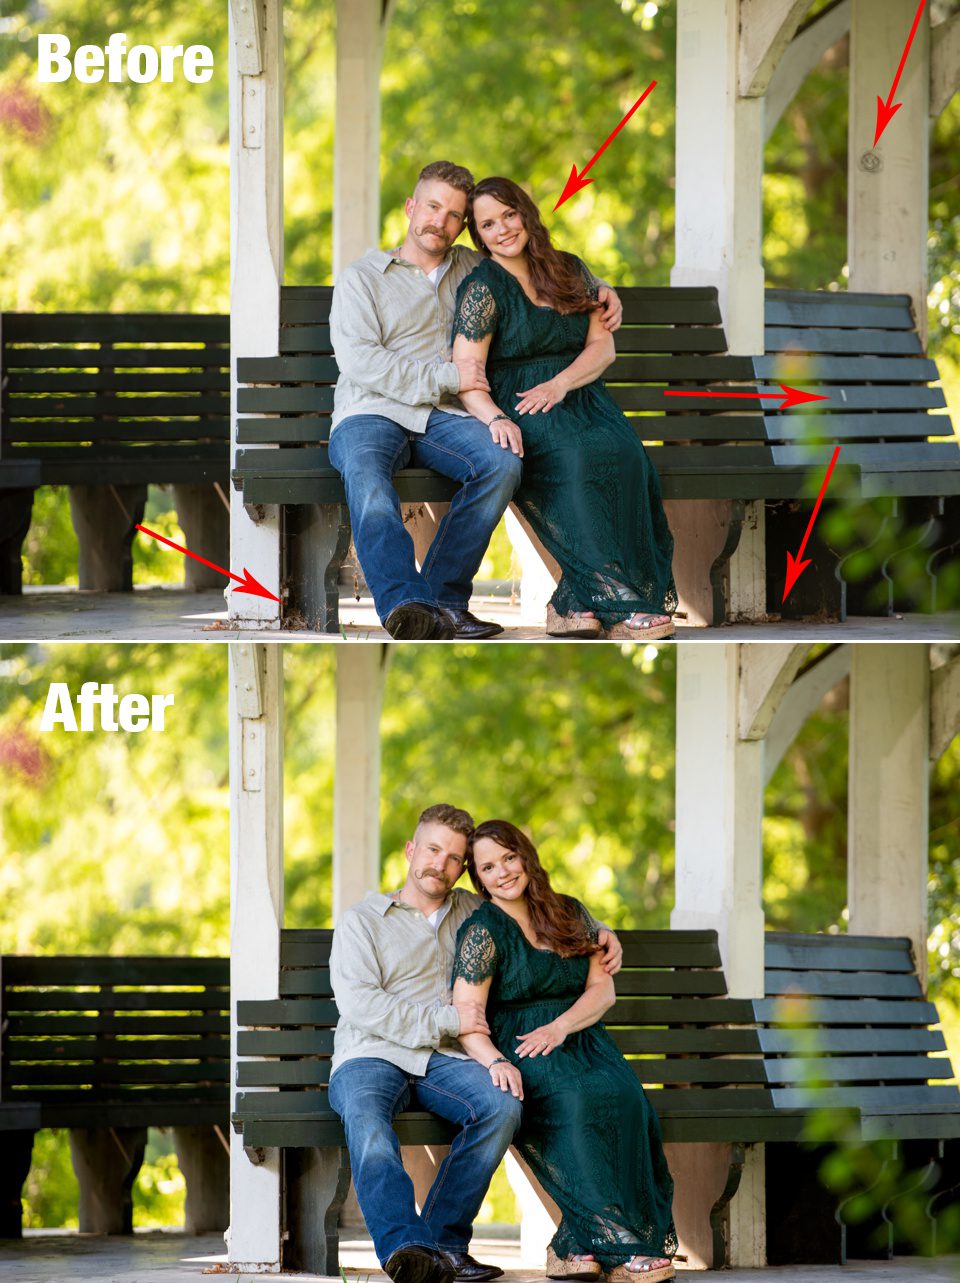
The Final Retouch
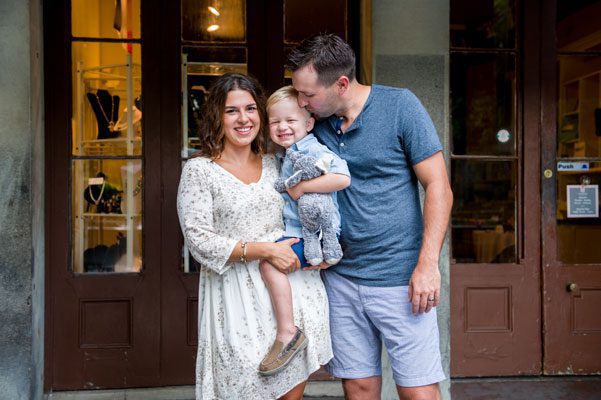
This is where we go in and remove anything that might be distracting that we could not avoid while shooting. Typical cleanup is leaves on the ground, trash on the ground, trashcans, or anything in the background that pulls the eye away from the main subject in the image. Next the subject is retouched, and that often includes things like blemish removal, skin smoothing, brightening eyes, and lightening shadows. When it is requested of me, I will fix flyaway hair and slim bodies. Often, when we are photographing groups of people that include young children, it is hard to get a good expression on every person at the same time. And hence we pull out the big magic wand and do a head swap! I then finish off with a little selective sharpening, usually around the eyes, and maybe a sweep of the edges to burn down highlights and enhance shadows. The final result is a beautiful work of art that is ready to be made into wall art that you will be proud to display for a lifetime of memories!
Got a minute and want to see my editing in action? (Actually, it’s a 16 minute edit condensed down to 1:06!)